BEFORE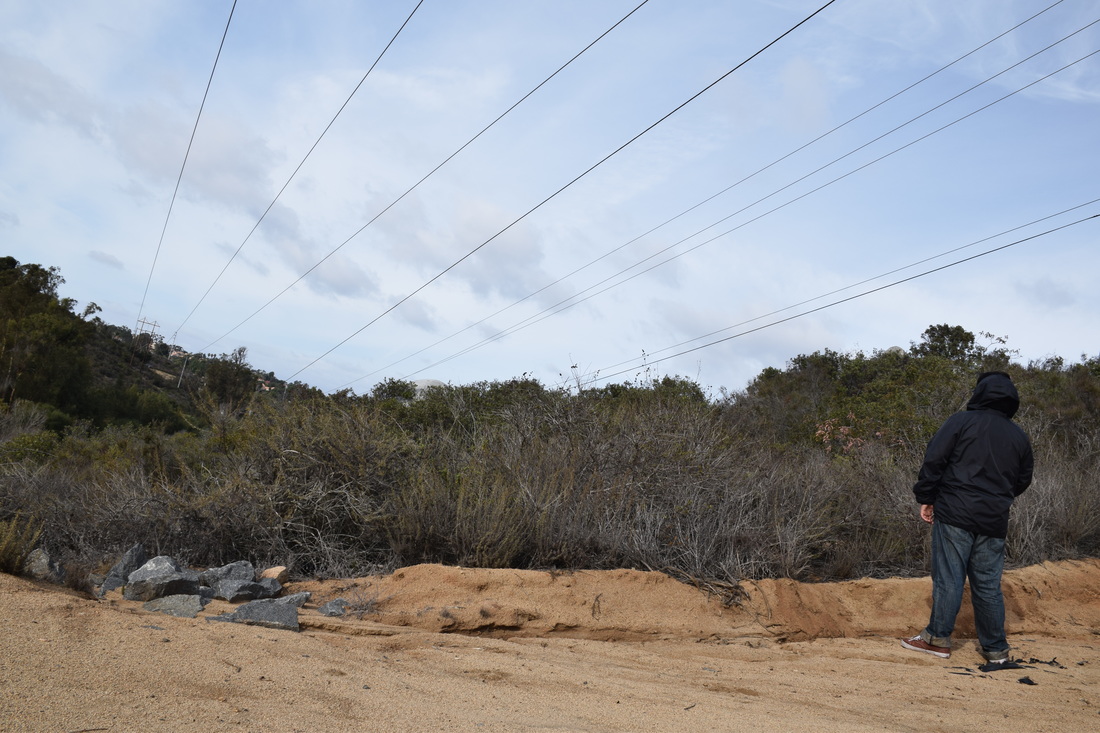 Rule Of Thirds - ISO 200, 18 MM, 0 EV, F/16, Shutter Speed 1/125 After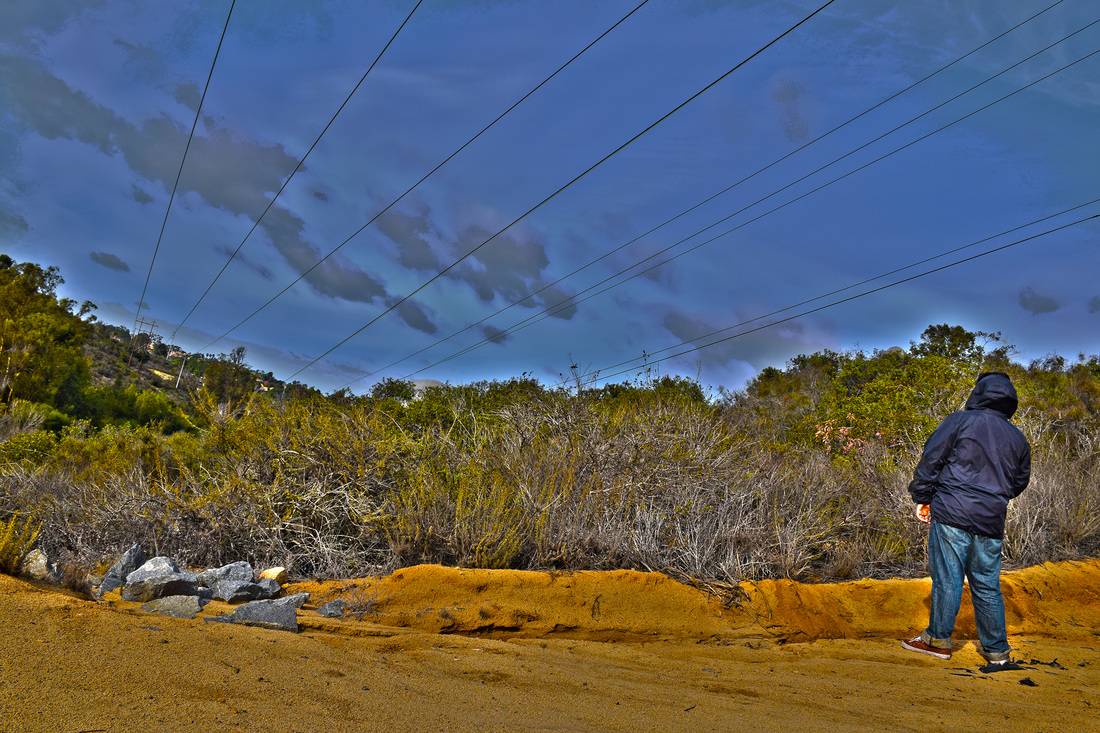 Before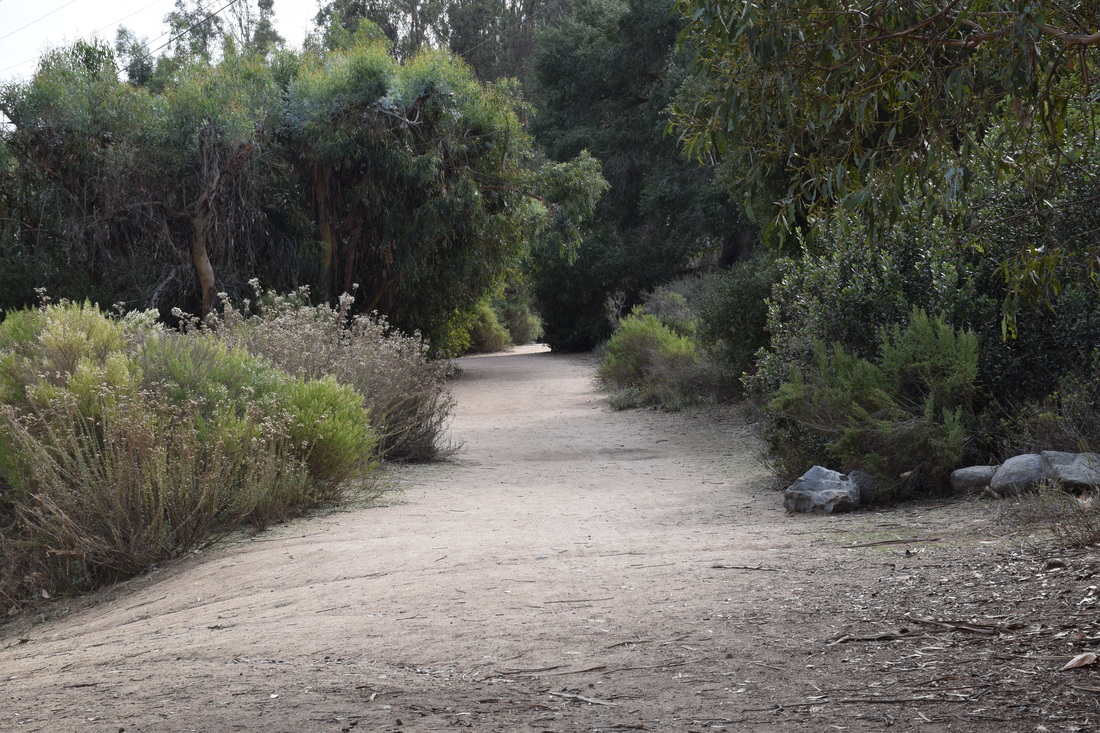 Leading Line - ISO 200, 52 MM, 0 EV, F/16, Shutter Speed 1/60 After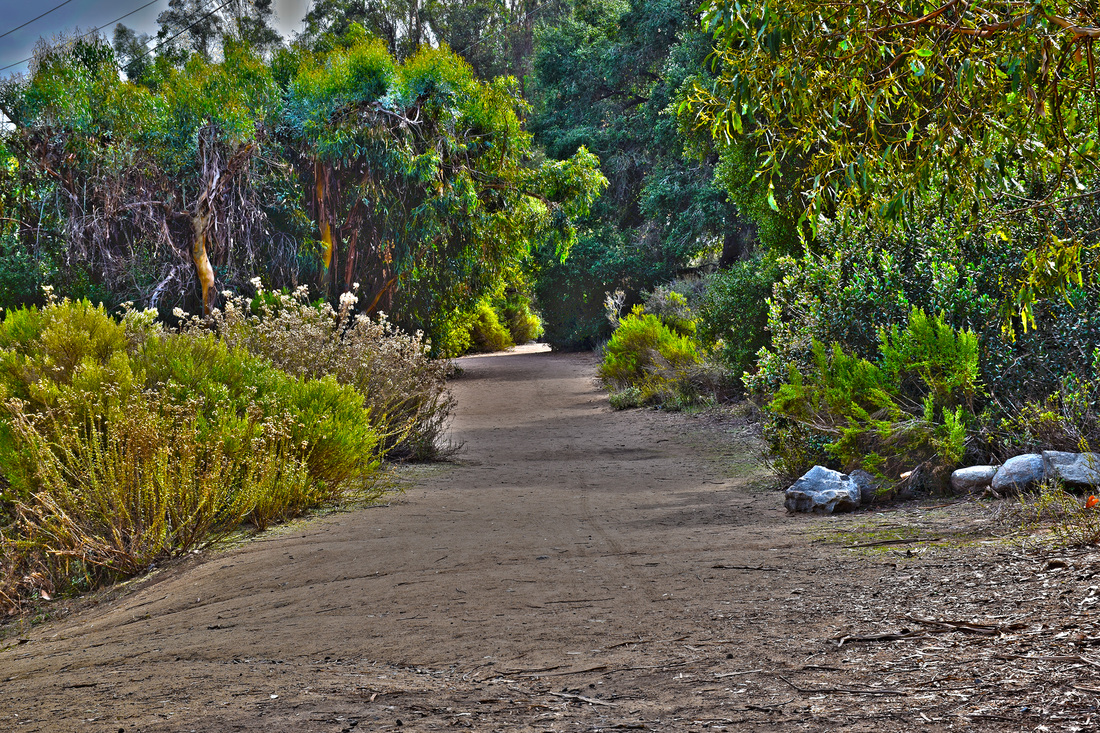 Before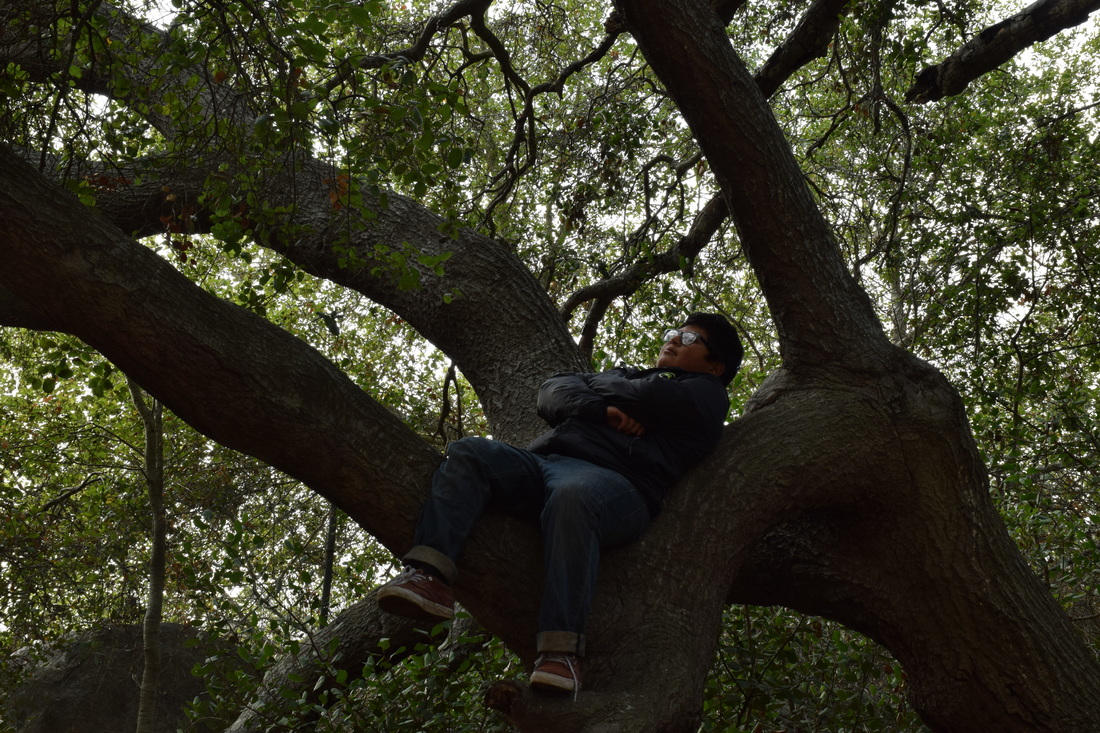 Framing - ISO 200, 50 MM, 0 EV, F/16, Shutter Speed 1/20 After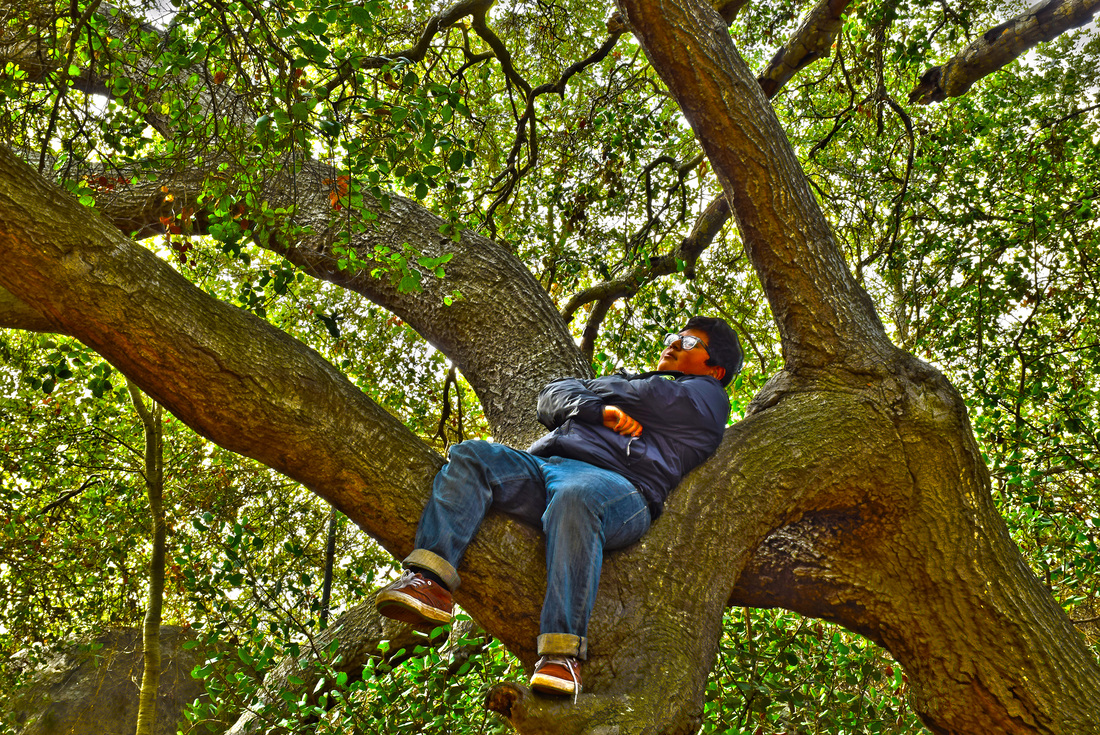 Before Symmetry - ISO 200, 18 MM, 0 EV, F/16, Shutter Speed 1/1 After Before Crop - ISO 200, 18 MM, 0 EV, F/16, Shutter Speed 1/45 After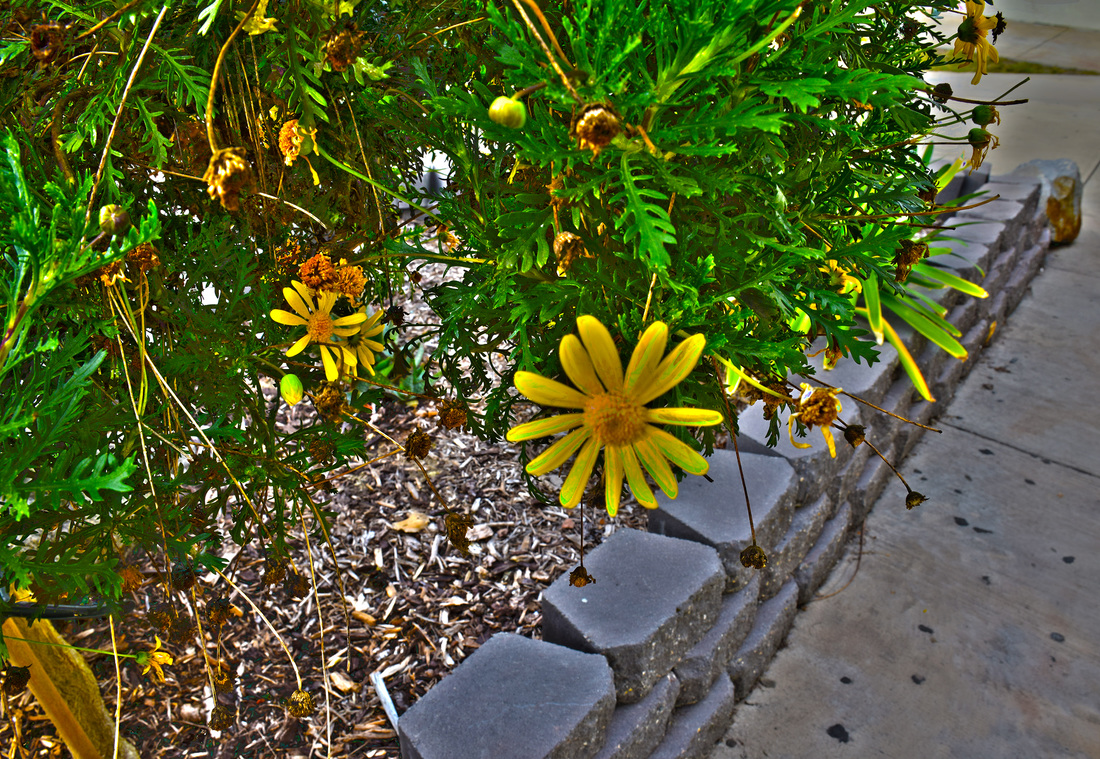 HDR stands for High Dynamic Range photography. In order to come up with these HDR images I had to place the camera on a tripod to make sure all of the shots came out the same. I took a picture of the same thing 5 different times. The first image was at 0.0 EV, the second image was at -0.5 EV, the third was -1.0 EV, the fourth was at 0.5 EV and finally the fifth wasd at 1.0 EV. After this i downloaded the images onto the desktop and i opened up photoshot. On photoshop I went to "File-> Automate -> Merge To HDR Pro -> then selected the 5 images i wanted to use." Once that was done i selected the "More Saturated" option on the drop down menu to get the images really bright and crips, as well as i clicked the "Remove Ghost" Option to make sure it looks like one single image. I repeated these steps for all of my images.
0 Comments
|
AuthorTeacher told me to write something on here lol Archives
May 2017
Categories |
 RSS Feed
